Microsoft recently stopped making Kinects. Since it was never a loved product, this decision made total sense. Why keep making something no one is buying. However, they also stopped making the Kinect Adapter for the Xbox One S and X. This was a dumb decision. The Xbox One X just came out, and a lot of the people buying an Xbox One X are upgrading from the original Xbox One, meaning they have a Kinect. A Kinect that they are going to want to hook up to their new console.
I mean if you go and look on eBay the Kinect Adapter for Xbox One S and X is going for well over $100. That is insane for what amounts to be a power adapter and a USB cable. However, you will also notice there are ads for modding your Kinect for around $50. Well I figured if someone can do it for $50, I can do it for cheaper, and I did. All I had to do was watch a couple of YouTube videos. The one below was the most useful:
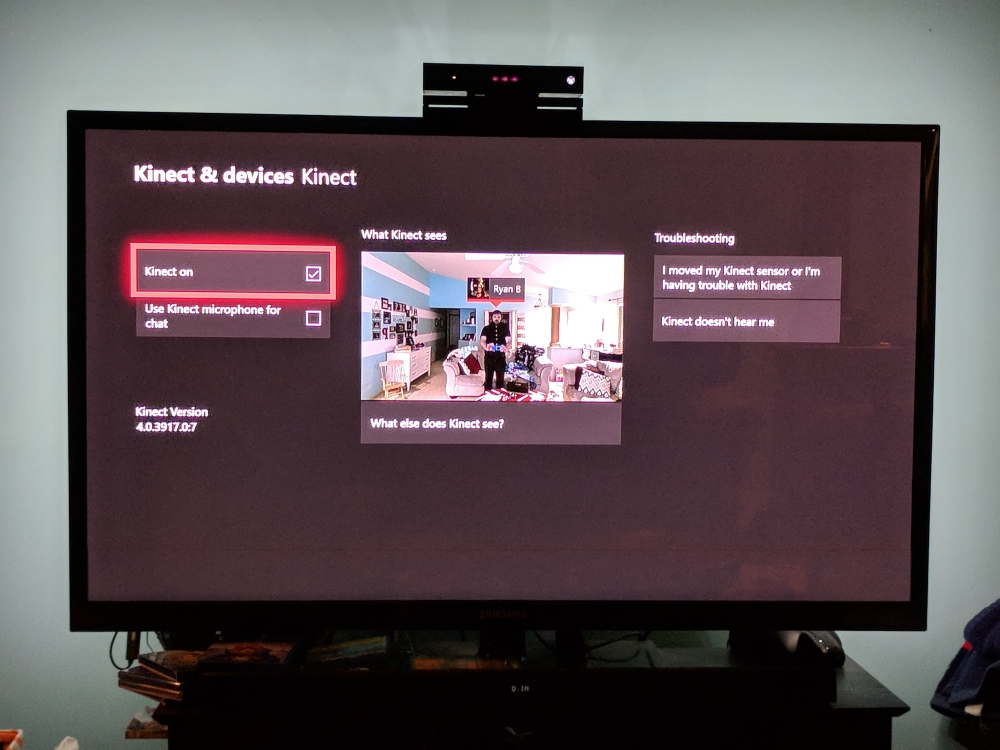
If you have the tools, you can make your Kinect work with you new Xbox or PC for less then $20, and if you need to buy the tools, you have probably still spent less than $40. Better yet, if you click through to the YouTube page of the video above he has links to Amazon for the stuff to get this mod working in the video description. It took me a couple of times to get the solder on right, and the mic on my Kinect is a little finicky now, but hey, I can play Dance Central again and tell Cortana to turn on and off my Xbox. Which I couldn’t do before, and I wasn’t willing to pay $300 to make happen.
Listen, obviously doing all this voids warranties, and you are damaging a power cord, so I can’t actually recommend that you do this. However, I did it, and It is working great. The shot on the top of the page is a shot of my success. Plus it was a lot of fun to pretend that I am some sort of electrical engineer. So to Microsoft who screwed over all their fans, I guess it is up to us to fix your problem with a little solder.
P.S. I am also going to include a link to site that has a better shot of what the soldering should look like when you are done, here.